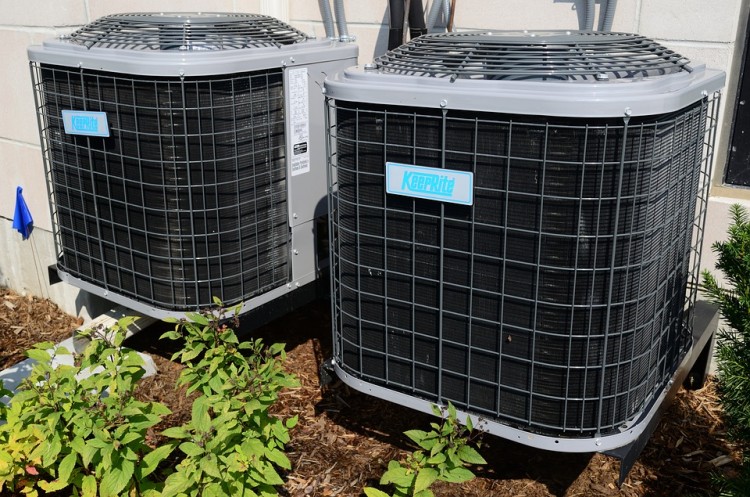
Your ventilation system is a critical component of a home or office as the ducts are responsible for circulating clean air. When the ducts are dirty and aging, an unmaintained heating, ventilation and air conditioning (HVAC) system will not only interrupt your comfort but also create an unsafe environment for its occupants. Duct cleaning experts recommend having your HVAC system serviced every three years for optimal use. You can clean your HVAC system yourself using this ultimate do-it-yourself to duct cleaning.
Why It Is Important to Maintain HVAC Ducts

The United States Environmental Protection Agency (EPA) notes that air ducts must be free of dirt as it will build up and cause mold to grow. While the air duct particles are less dangerous than regular air contaminants commonly found in the home, it is the accumulation of dust in filters that blocks clean air from circulating properly.
While some HVAC duct cleaning is best left to the professionals for routine maintenance checks, replacing the filters regularly protects a home or business from costly repairs. If you find mold growing on the metal sheeting, you need to take further precautions. You will know there is mold by the damp odor on the insulation, air ducts, and filters.
When it comes down to mold and rodents in your air ducts, it takes more than a DIY guide to fully restore the HVAC’s function as it requires commercial tools like rotary brushes and commercial-grade vacuums that will be an expense to non-industry workers. You can also damage the ducts if you are unsure, which may be more expensive than hiring professionals.
What Tools Do I Need for a DIY Cleaning?
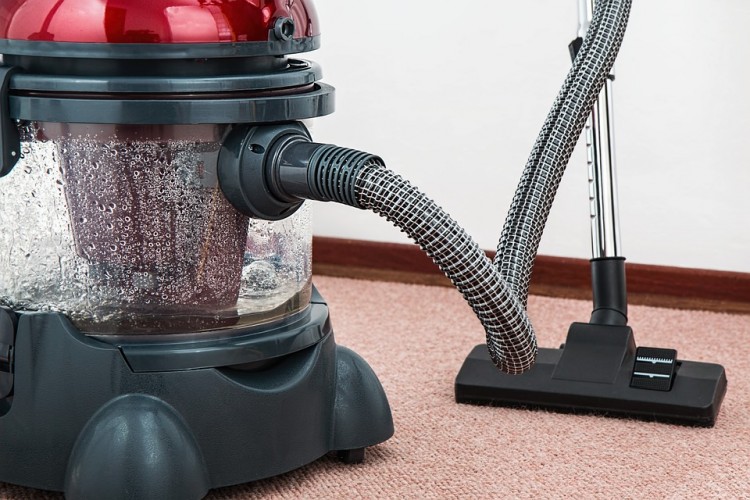
Initially, you need to gather some cleaning supplies including your filters, vacuum cleaner, pliers, screwdriver, soft-bristled brush like a paintbrush or small cleaning brush, cleaning rags, paper towels, bucket, flashlight, broom, dustpan, small notebook, pen and stepladder. Be sure to wear work clothes or something designed to cover your clothing.
After gathering your supplies, you want to keep your small notebook and pen handy so that you can take note of what you did and when you did it. Not only will it remind you of when you need to do it again, but there is also a record of what you did in case you need professional HVAC service in the future. You want to do regular cleaning maintenance every three months.
Locate Your Vents
The first step is to locate all the air vents in your home. It helps to make a note of them for future accessibility. If you are unsure of where to look, look for high vents on walls or at baseboard level. Make a note of them in your notepad to save time in the future.
Remove Anything Near the Ducts

You are cleaning dust, so you want to remove anything nearby that can get dirty when you begin the cleaning process. This includes furniture, artwork, carpets, décor or personal items. You do not want to have to clean them after this messy task is done.
Prepare Your Work Station
If your vents are higher up, take the time to get a stable ladder and a table nearby for your supplies. If you lack a ladder, use a sturdy kitchen chair. Clean vents are not worth a personal injury, so make sure that you think about each action before doing them.
Cover the Heat Registers
The heat registers are the metal covers of your ducts that have dampers to control the flow of heat and air into your rooms. Once you put the paper towels on each register, replace them so that it stops excess dust from entering the rooms while you are cleaning the ducts. Turn your thermostat fan on but make sure the heat and cool are still in the off position.
Check the Air Filter
You want to check your filter to ensure it is positioned properly. It is a critical step that ensures the dust you loosen up does not get stuck in your fan motor.
Loosen the Dirt With Your Brush
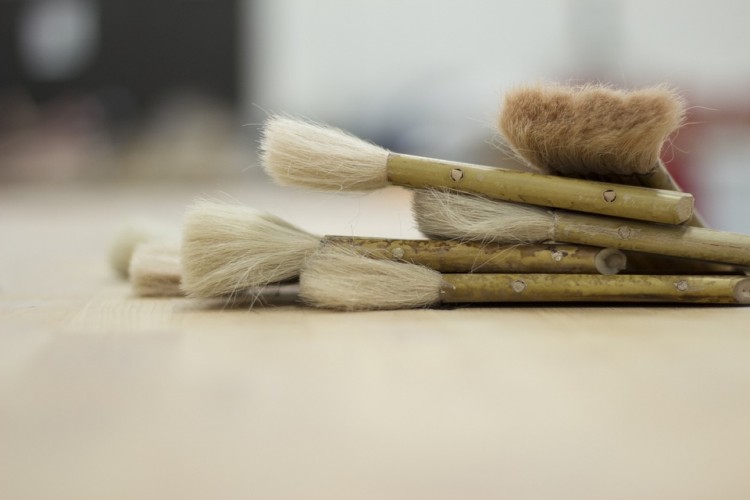
Take a cleaning brush or stiff paintbrush and loosen the dust particles in the air ducts. It needs to be sturdy enough to unloosen stuck debris or damp dust.
Clean the Vent Registers
Clean each vent register by first removing and discarding the paper towel. Lift up the register. As the fan is still on, it will repel the dust. Use the hose attached to your vacuum to suck up the dust before it dirties your rooms. You also want to use a hard-bristled brush to get any dust particles that are stuck within the vent entryway.
Sweep the Return Air Registers
Use a broom to sweep the return air register. Air returns are vent grills that are in hallways or ceilings. Their purpose is to recycle air in each room by extracting it and returning it into the HVAC system. This process will continue heating and cooling rooms properly.
Repeat the Process
Now repeat the process with each register. Make sure you bring your supplies as each one needs to be unfastened with a screwdriver and cleaned thoroughly. Fasten each register when you are done.
Turn Off the Fan
Return to your furnace and thermostat and turn them off. Also, make sure the breaker is now off as well. Remove the front furnace panels and use the vacuum hose to remove the dust from the blower, return air boot, and furnace fan. Add a new furnace filter.
It is not as bad as it sounded, right? You want to repeat this maintenance routine every three months to ensure that your air quality is clean and properly maintained. This helps maintain your home’s value and also provides a safe environment for your family or your workers who rely on you to do these tasks regularly.


